Are you tired of spending hours on a gorgeous nail art design, only for it to chip or lift a few days later? I know that frustration all too well. We put so much effort into making our nails look amazing, and it’s a real bummer when they don’t last. That’s why I want to talk about structured gel manicures. In 2026, this technique is a total game-changer for anyone wanting salon-quality nail art durability right from their living room.
What is Structured Gel and Why Should You Care?
Think of structured gel as a superhero for your natural nails. Unlike regular gel polish, which just adds color and shine, structured gel is a thicker, more supportive gel that actually reinforces your nail plate. It’s often referred to as builder gel, especially the “builder in a bottle” type, and it works by creating an “apex,” which is the highest point of your nail’s curve. This architectural shape distributes pressure evenly, making your nails much stronger and less prone to breaking.
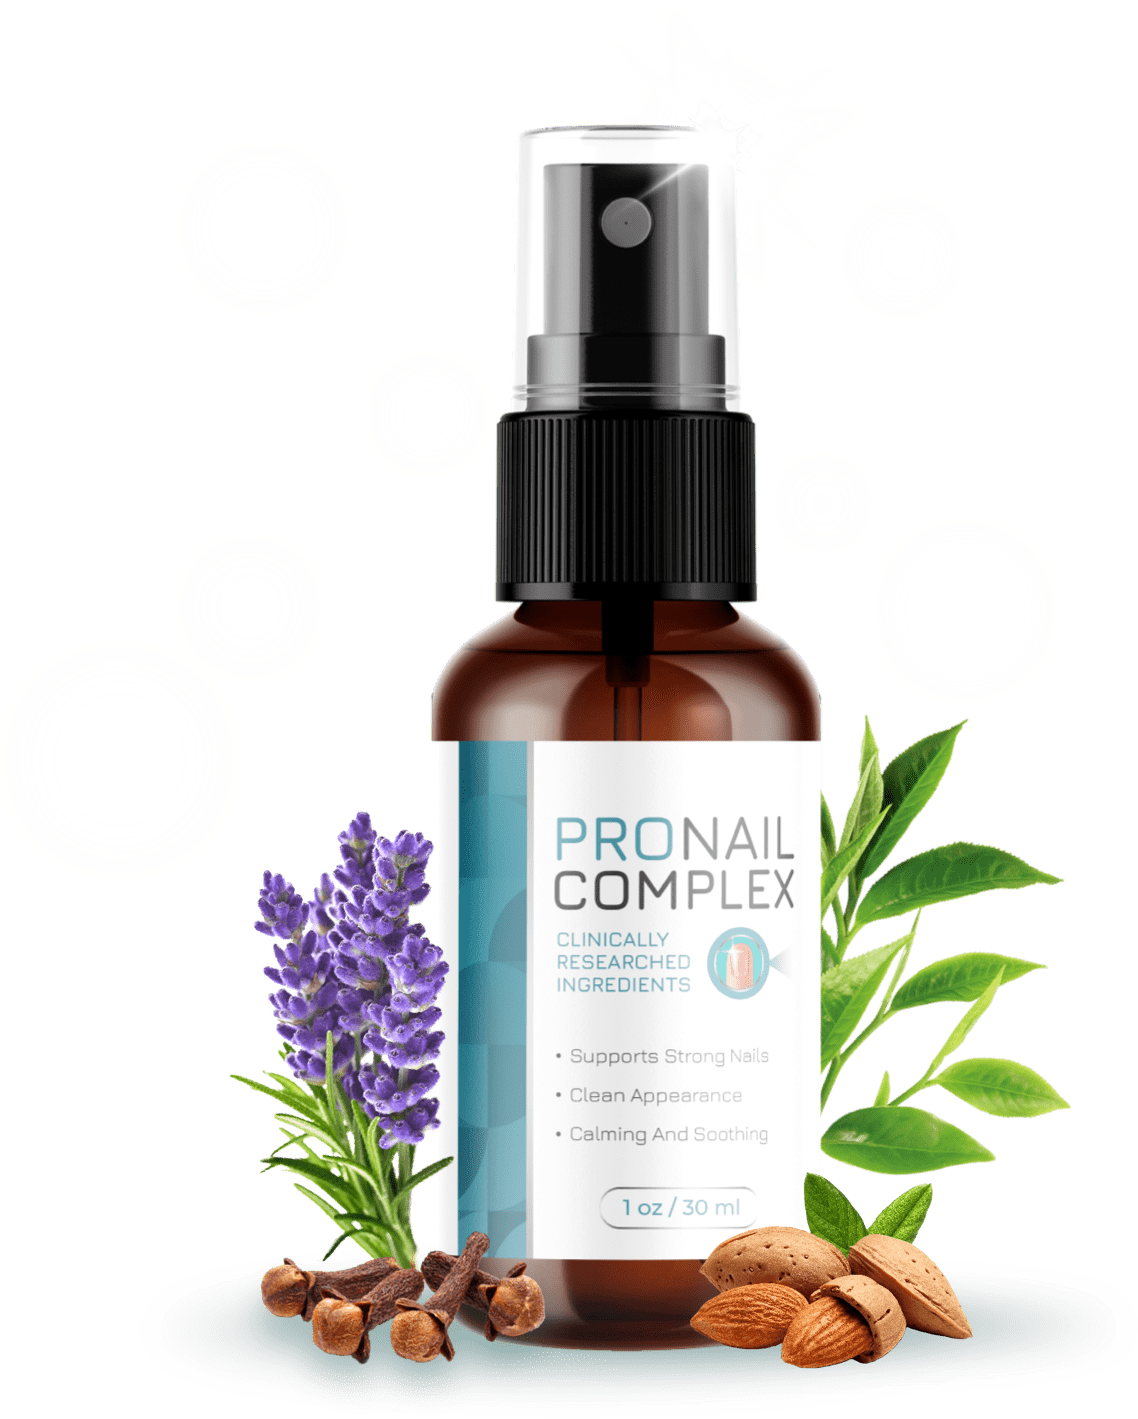
ProNail Complex: Advanced Micro-Spray
- Doctor-Formulated Mist Spray
- Deeply Penetrates Under the Nail Bed
- 100% Natural Oils & Skin-Repairing Vitamins
- Zero Oily Residue — Dries in Seconds!
- Supports Flawless, Clear, & Healthy Toenails
- Made in the USA in an FDA-Approved Facility
- Safe to Wear with Socks & Shoes Instantly
- Backed by an Ironclad 60-Day Money-Back Guarantee
Seriously, the benefits are huge. Structured gel acts like an armor coating, giving your nails incredible strength and durability. If your nails tend to split, peel, or break easily, this is exactly what you need. It helps protect your natural nails, allowing them to grow longer and healthier without damage from daily wear and tear. Plus, a structured gel overlay can easily last three to four weeks without lifting or peeling, which is way longer than a standard gel manicure. It also creates a perfectly smooth base, which is ideal for any nail art you want to try.
Structured Gel vs. Regular Gel Polish: The Big Difference
This is where structured gel really shines. Regular gel polish is great for color and a bit of shine, but it doesn’t add any real structural support. It’s applied in thin layers and just enhances the surface of your nail. Structured gel, however, is designed to add thickness and structural support, building up the nail to create that strengthening apex.
Many sources use the terms “structured gel” and “builder gel” interchangeably, especially for products like “builder in a bottle” or “liquid builder gel” which are popular for at-home use. While some might distinguish between them, generally, when we talk about creating structure and strength, we’re talking about using a builder gel product. There are also different types: hard gels, which are super rigid and must be filed off, and soft or soak-off gels, which are more flexible and can be removed with acetone. For home users, soak-off options are usually more convenient. Liquid builder gels are also a thinner consistency and self-level easily, making them great for beginners.
ProNail Complex: Advanced Micro-Spray
- Doctor-Formulated Mist Spray
- Deeply Penetrates Under the Nail Bed
- 100% Natural Oils & Skin-Repairing Vitamins
- Zero Oily Residue — Dries in Seconds!
- Supports Flawless, Clear, & Healthy Toenails
- Made in the USA in an FDA-Approved Facility
- Safe to Wear with Socks & Shoes Instantly
- Backed by an Ironclad 60-Day Money-Back Guarantee
Getting Started: Your At-Home Structured Gel Toolkit
You don’t need a whole salon to get started, but a few key items will make all the difference. Here’s what you’ll want to have on hand for your at-home structured gel nail art kit in 2026:
- LED Lamp: This is a non-negotiable. You need a good quality LED lamp (48W or higher is the standard for 2026) to properly cure your gel. A dual LED+UV lamp is even better for versatility.
- Nail Prep Essentials: This includes a soft-side buffer, a glass nail file, wooden orange sticks for cuticles, lint-free pads, and 99% isopropyl alcohol or a nail dehydrator.
- pH Bond/Primer: To ensure your gel adheres well.
- Base Coat: While some builder gels claim to be 3-in-1, a separate base coat is often recommended for better adhesion.
- Structured Gel/Builder Gel: This is the star of the show. Brands like Modelones, Beetles, Makartt, and Gelish offer good beginner-friendly options for home use. Modelones is often praised for its forgiving viscosity and self-leveling properties.
- Gel Nail Polish (for art): Pick your favorite colors for your designs.
- Top Coat: A no-wipe top coat makes finishing easier.
- Cuticle Oil: Essential for hydration after your manicure.
You can find many complete starter kits available in 2026, like the S&L Complete Gel Nail Starter Kit or the Beetles Gel Nail Polish Kit, which often include a lamp and various polishes.
Your Step-by-Step Guide to At-Home Structured Gel Nail Art
Ready to create some durable art? Here’s a breakdown of the steps:
Prep is Key!
This step is super important. Seriously, good prep makes up 80% of whether your manicure will last.
First, gently push back your cuticles with a wooden orange stick. Then, shape your nails to your desired look, whether that’s square, oval, or almond. Lightly buff the shiny top layer off your nail plate. This creates tiny scratches that help the gel stick better. It’s a commonly skipped step, but it’s crucial for preventing lifting. Finally, wipe your nails clean with a lint-free pad soaked in rubbing alcohol or nail dehydrator. Your nails should feel completely dry before you apply any gel.
ProNail Complex: Advanced Micro-Spray
- Doctor-Formulated Mist Spray
- Deeply Penetrates Under the Nail Bed
- 100% Natural Oils & Skin-Repairing Vitamins
- Zero Oily Residue — Dries in Seconds!
- Supports Flawless, Clear, & Healthy Toenails
- Made in the USA in an FDA-Approved Facility
- Safe to Wear with Socks & Shoes Instantly
- Backed by an Ironclad 60-Day Money-Back Guarantee
Building Your Base (and Apex)
Now for the structured gel itself.
1. **Apply pH Bond/Primer:** Start with a thin layer of pH bond or primer.
2. **Base Coat:** Apply a thin layer of your base coat and cure it under your LED lamp for the time recommended on the bottle, usually 30-60 seconds.
3. **Apply Structured Gel:** This is where you build the strength. Pick up a small bead of structured gel on your brush. Place it near the cuticle area, leaving a tiny margin, and then gently guide the gel down towards the free edge of your nail. The goal is to create that apex, the highest point of your nail, usually around two-thirds of the way down from the cuticle. Don’t apply too much at once; thin layers are best.
4. **Self-Leveling Trick:** Structured gels are often self-leveling, meaning they smooth themselves out. You can help this process by flipping your hand upside down for a few seconds. Gravity will help the gel settle into a nice, even curve.
5. **Cure:** Once you’re happy with the shape, cure this layer under your LED lamp. Follow the product instructions for cure time, but generally, it’s around 30-60 seconds. If you need more structure, you can apply a second thin layer and cure again.
Curing Correctly
Proper curing is vital. A weak or old lamp, or not curing long enough, can lead to tacky gel, softness, or peeling. Make sure your lamp is at least 48W and has dual LED+UV capabilities for the best results in 2026. Always follow the specific cure times for your products.
Time for Art!
Once your structured gel base is cured and feels strong, it’s time for the fun part: your nail art! Structured gel provides an incredibly smooth and durable canvas, which means your designs will look sharper and last longer. You can apply your gel polish colors directly on top of the cured structured gel.
The Grand Finale: Top Coat and Finish
After your nail art is complete and cured, apply a thin layer of gel top coat. Make sure to cap the free edge of your nail, which means brushing the top coat along the very tip to seal it. Cure your top coat one last time under the LED lamp. Finally, wipe away any sticky residue with isopropyl alcohol (if your top coat isn’t a no-wipe formula) and massage some nourishing cuticle oil into your cuticles and the skin around your nails. This makes a huge difference in how polished your manicure looks.
Making Your Nail Art Last
Even with a strong structured gel base, a little care goes a long way.
* **Be Gentle:** Your nails are tough now, but still treat them with care. Avoid using them as tools.
* **Moisturize:** Keep using cuticle oil daily. Hydrated nails and cuticles are happier nails.
* **Fills:** Structured gel manicures are designed to be filled rather than fully removed each time. As your natural nail grows, you can get a “fill” where new gel is applied to the growth area, usually every 3-4 weeks. This reduces damage from repeated filing and buffing.
Popular 2026 Nail Art Trends to Try with Structured Gel
Structured gel is the perfect foundation for so many of the cool nail art trends happening in 2026. Because it gives such a smooth and strong base, intricate designs really pop and stay put.
* **Abstract Swirls and Micro Florals:** These delicate designs look fantastic on a clean, structured base. Think freehand blooms or subtle brushstroke marks.
* **Chrome and Metallic Finishes:** Metallic textures and chrome powders are huge in 2026. A perfectly smooth structured gel base is essential for that mirror-like chrome effect.
* **Textured and 3D Nail Art:** With structured gel (especially thicker builder gels), you can create raised elements, crystals, pearls, and sculpted accents. This really transforms your nails into wearable art.
* **Jelly Nails and Glazed Finishes:** The translucent, high-shine look of jelly nails or the “glazed donut” aesthetic is still popular, often moving into moodier tones like mocha chrome. Structured gel helps achieve that flawless, smooth surface needed for these trends.
* **Short, Square French Tips:** This classic is getting a modern update, and the structured base keeps the crisp lines looking perfect.
Final Thoughts
Learning to do structured gel manicures at home takes a little practice, but it is so worth it for the strength and longevity it gives your nail art. No more chipped polish after a few days! You can achieve beautiful, durable nails that truly showcase your creativity. Take your time with each step, especially the prep and building the apex. You will be rocking flawless, long-lasting nail art in no time. For more tips on overall well-being, including what your body might be telling you, check out What Your Vaginal Discharge is Trying to Tell You (And When to Listen) on Inspired Women. It’s all about feeling good, inside and out!